Edit 2021: I have since simplified the kit and removed the plywood and adapter plate for version 3.
This is the new version of my Budding Kit (Budding also known as Eduction). The previous version was quite involved in the construction which made for a great box but was possibly overkill, so i’ve stripped the design right down to simplify the construction while still providing the same result, an easy solution for Budding a native bee hive from another box or log.
This article just outlines the box design and does not cover “How to do Budding”. There’s links at the bottom of the page to more articles that may help.
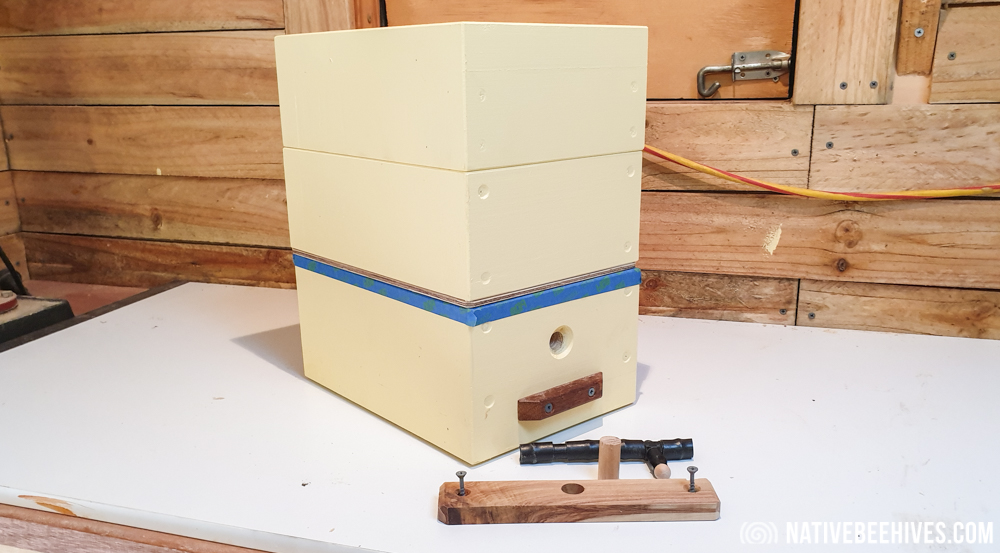
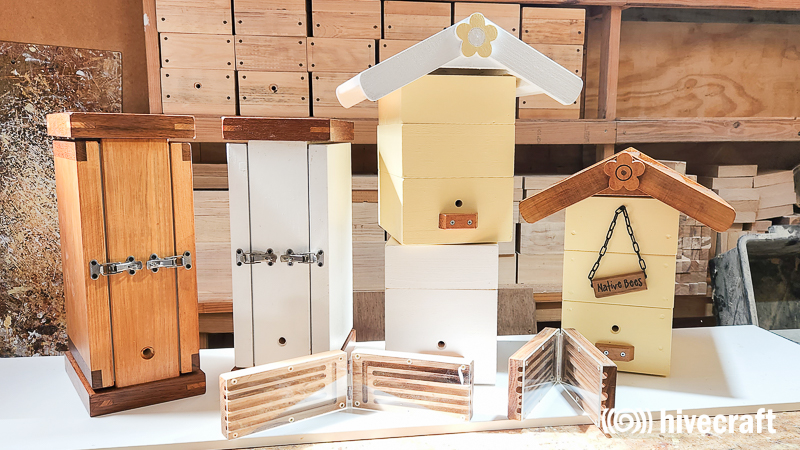
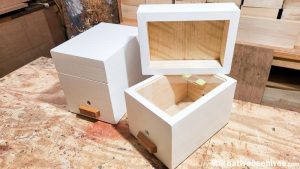
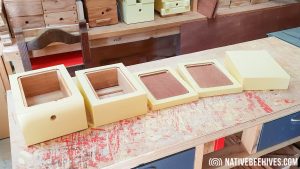
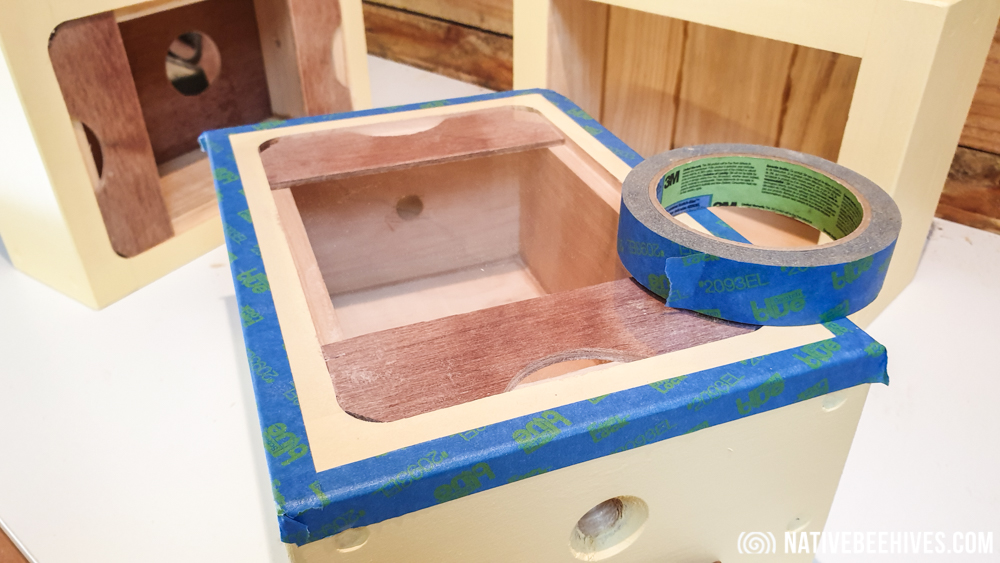
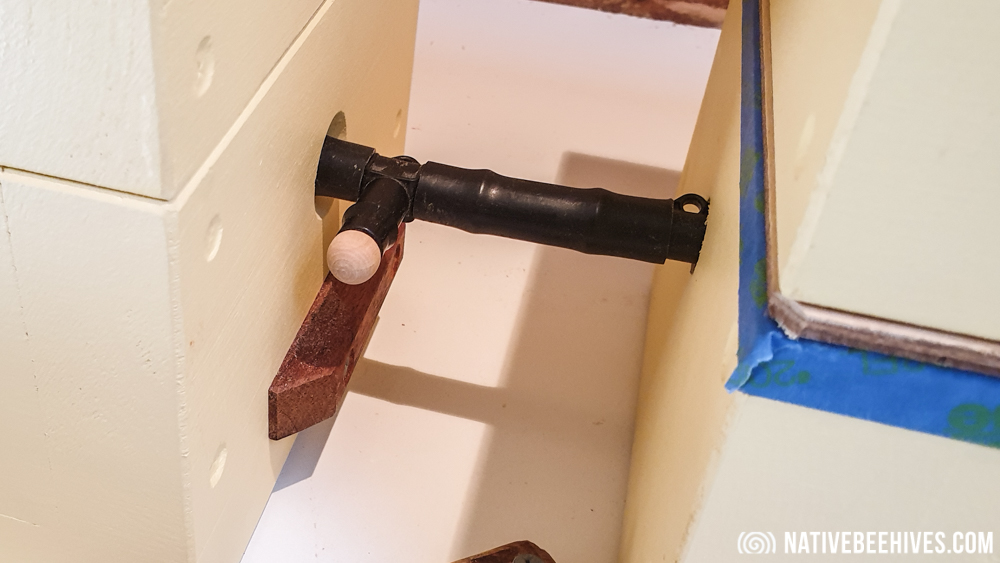
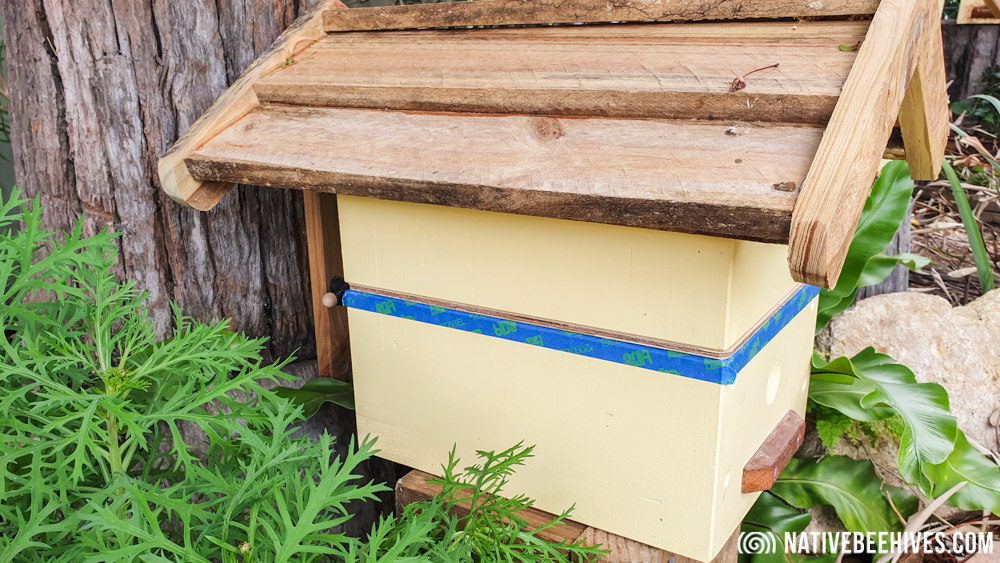
I’ve used my current standard native bee box and made some simple modifications, like drilling a entry hole in the rear of the box to accept the connecting tube.
The extra bits
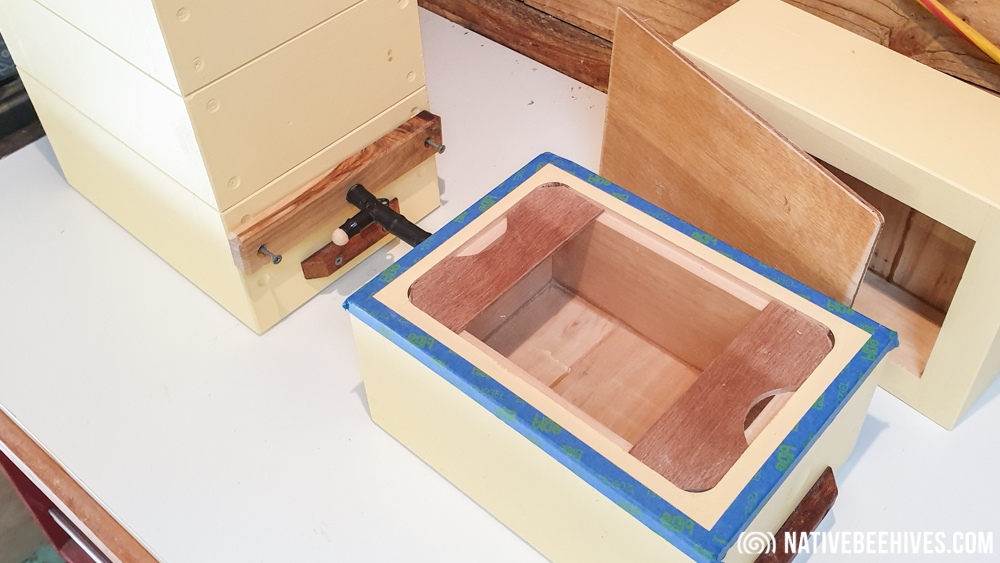
- Clear sheet of plastic 280mm x 200mm. You could use clear 2mm Acrylic sheet or one of those thin clear sheets used for a folder front (could be hard to see in this photo). You can easily replace the clear sheet if the bees block it out but that should take a while
- Sheet of plywood 280mm x 200mm – helps with insulation
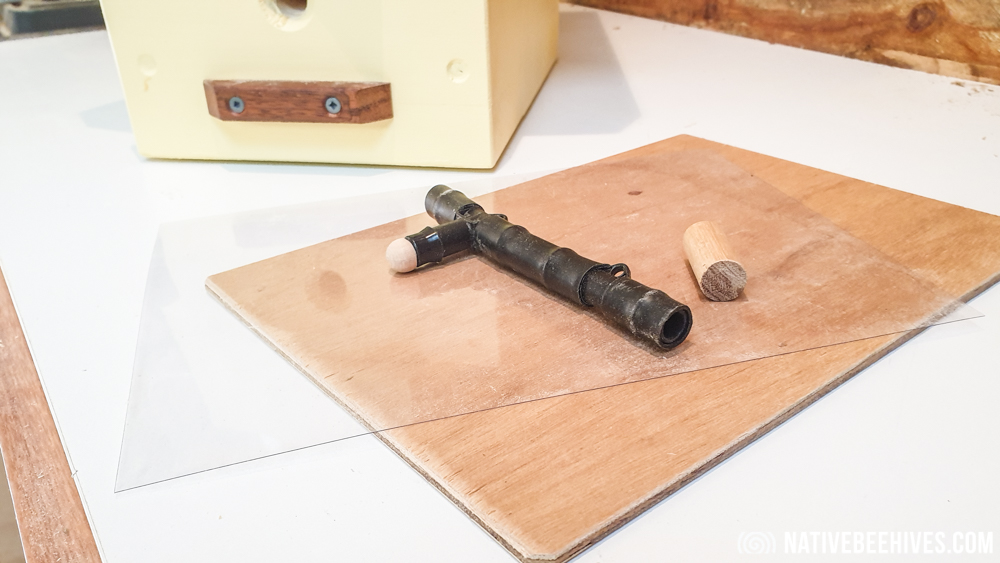
- Irrigation tube with a T piece in between to use as a connecting tube with a plug to block the exit
- Short piece of dowel to use as a plug when finished
- Adapter plate – a piece of wood with a tube sized hole drilled in – may not be needed
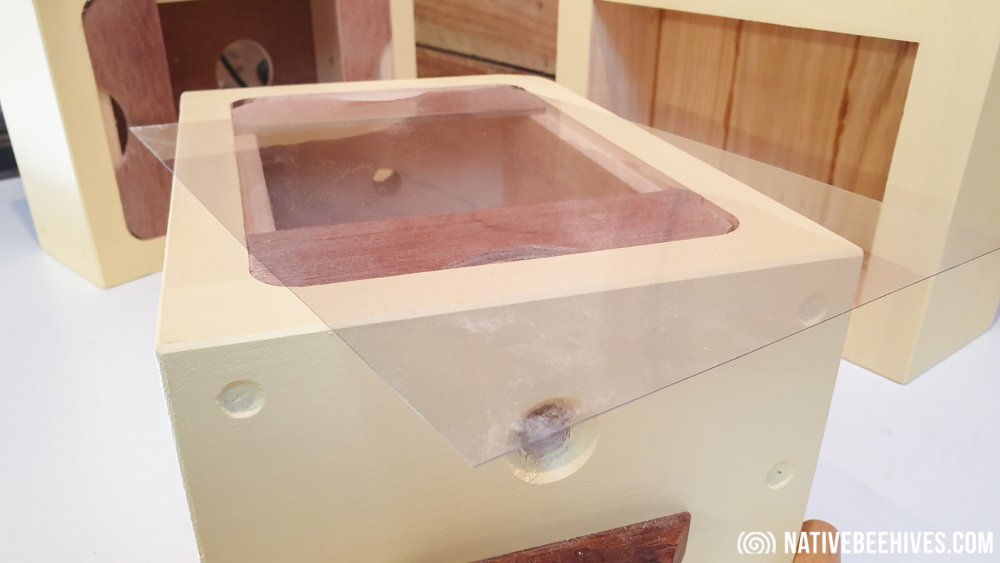
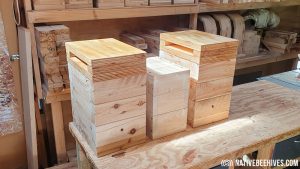
Tape the clear sheet to the top of the base box leaving no gaps for bees to escape or pests to enter
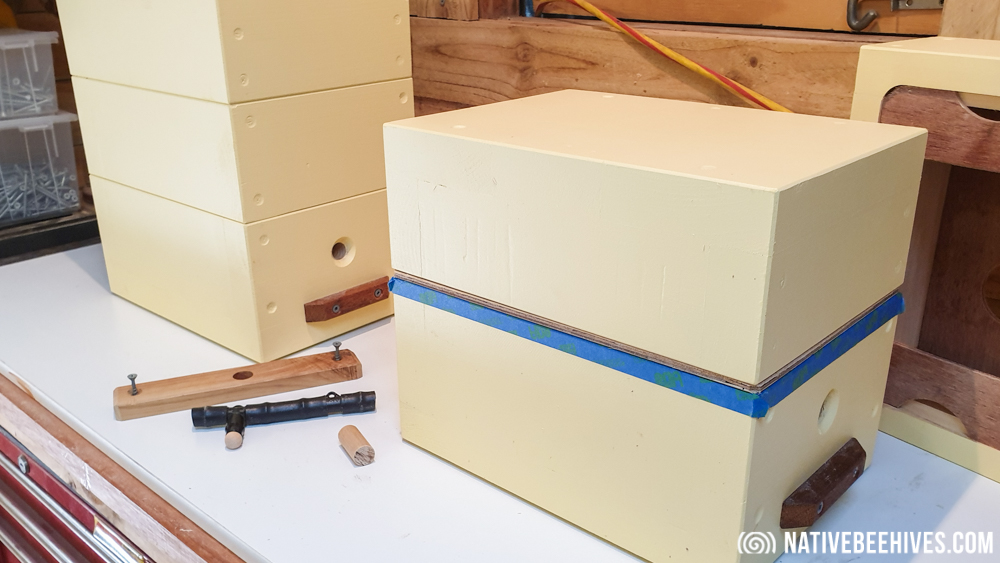
I place the plywood on top just to provide a bit of insulation from the top box as the top box will be empty
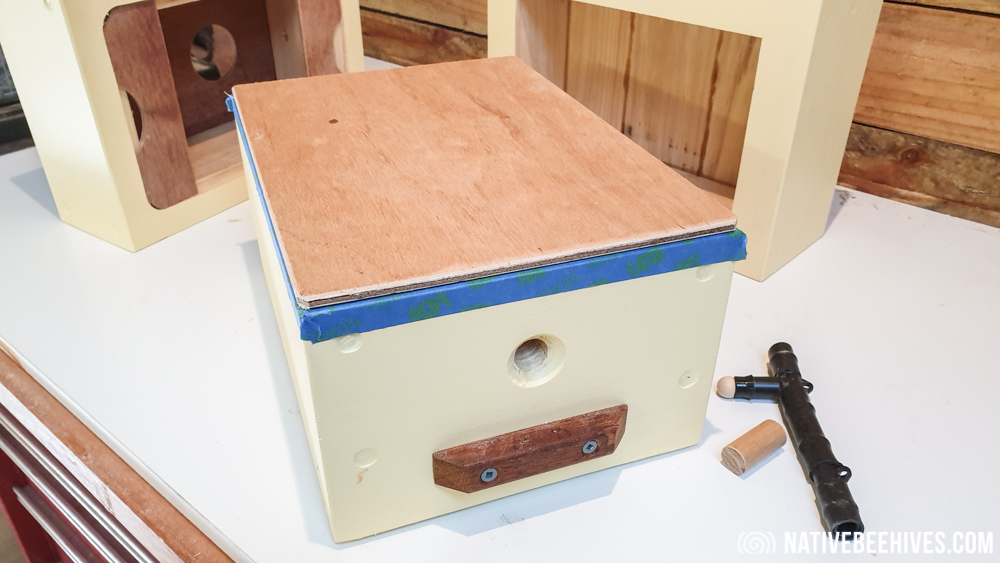
Place the top box on the base box, leaving out the middle brood frame. The middle brood frame wont be needed until you’re well on your way in the budding process
Connecting to another box
You can use the adapter plate on the full hive to connect the black tube to. This is just one way to ensure a good connection. If there’s any gaps or possible way the bees can get around the tube they will find a way.
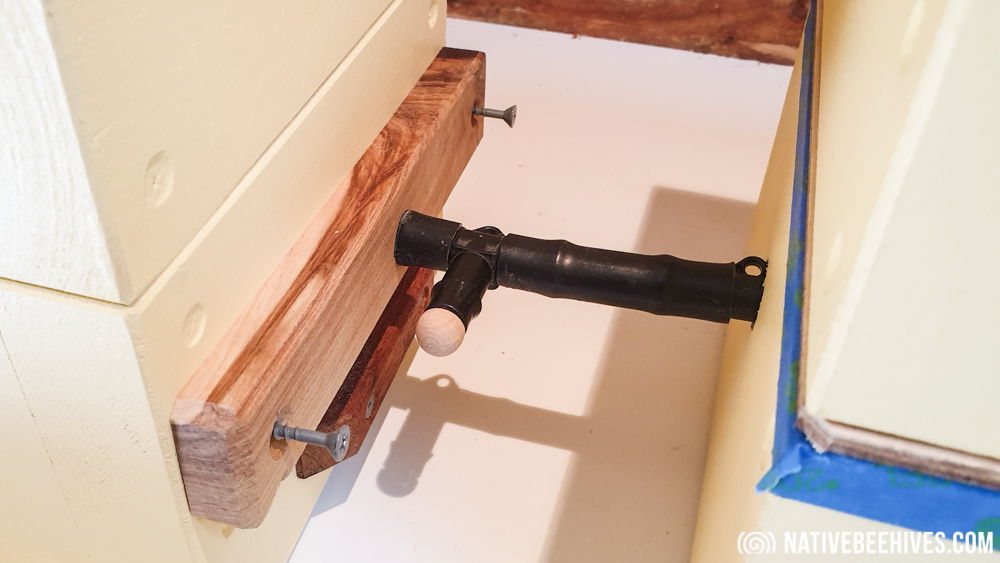
If the tube fits the hive entrance then the adapter plate wont be needed, or you could make your own tube that’s more suitable to your own entrance
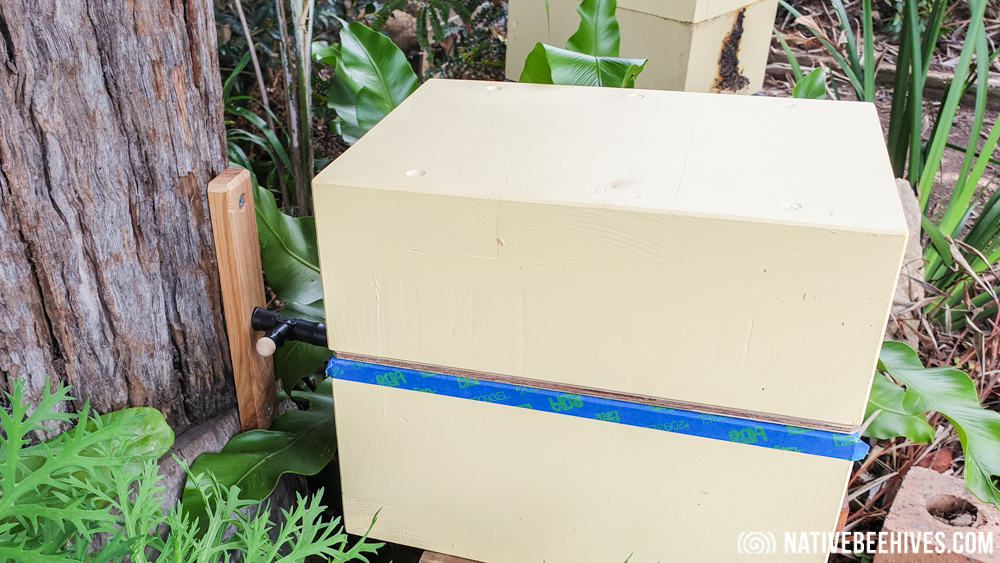
Now it’s all connected!
You can remove the top box and monitor the bees progress
Connecting to a log or tree
The same can be done for Budding from a tree or log. Screw the adapter plate over the entrance and make sure there’s no gaps for bees to bypass the tube. This may not always be simple as trees and logs have awkward shapes. If the entrance is high up in a tree you’ll have to make a bracket that holds the box to the tree.
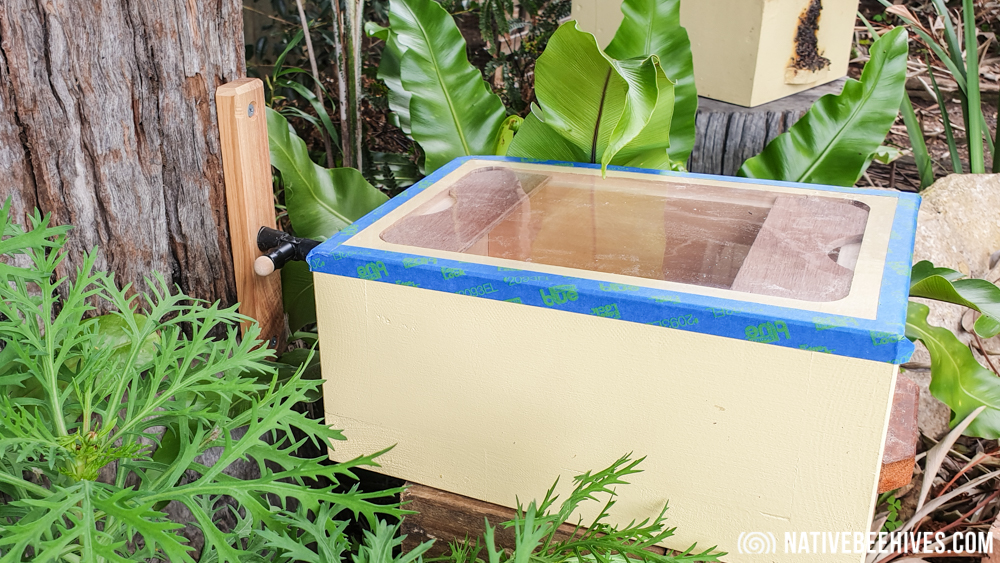
Once connected you can add the plywood sheet and top box
Make sure you add a good roof to shelter the box
When finished
- Disconnect the tube from the box
- Place the dowel piece in to the rear entrance to block it up
- Remove the clear sheet and the plywood
- Place the standard OATH middle brood frame and top box on so the box is now complete