What is Eduction?
Eduction, also called Budding, is a method of managing or multiplying stingless bee colonies by connecting a new empty box to an existing hive colony and forcing them to enter and exit via the new box. Some people have great success with this method but there is a lot of unsuccessful attempts so experience helps. This method can take months to a year for the bees to create a new colony and it’s not 100% guaranteed that it will work at all.
Box Placement / Position:
The bees will use sight to find their hive entrance, looking at structures around it, trees, posts, fences, bricks etc. If you left the old hive where it was and connected a new Budding Hive to the front the bees would exit the hive and return the old hive entrance and try to enter there because that’s where they know it to be.
When setting up for the Budding process you should make sure there’s a space for the old and new box. Move the old box backwards and put the new box entrance exactly where the old box entrance used to be because that’s where the bees know it to be.
When you move the old hive box backwards and connect the new one in front, make sure you disguise the old box so the bees don’t recognise it. You can cover it with a towel or board etc. This reduces the chances of the bees wanting to return to it. You can remove the disguise a week later it you like as the bees will now be used to the new entrance.

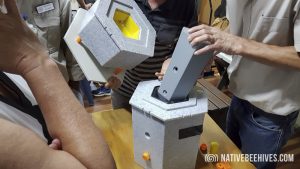
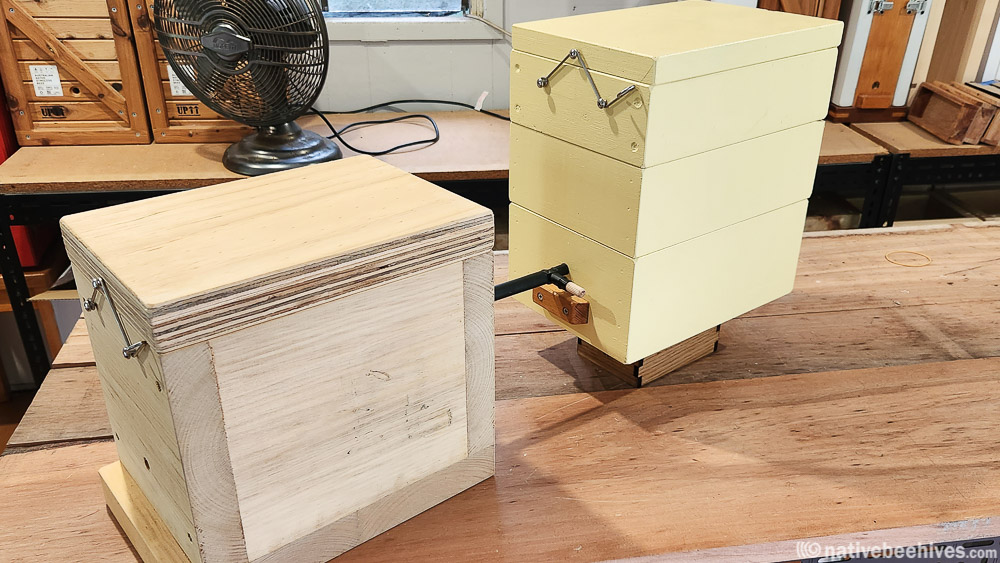
Box Connection
Wait till night when all the bees have returned home. Insert the plastic connector tube in to the old hive entrance, then place the new Budding Box in front and insert the tube in to the rear entrance.
The bees may not enter the new box for a day or two and may take a while to explore the new box and will seal the edges of the clear perspex with Propolis (brown glue). They will be constantly active inside the new box and it wont be long before the foragers get back to their usual job and leave and return with supplies like Pollen.
The connecting tube usually enters the back of the new box but you can put it through the side or bottom.
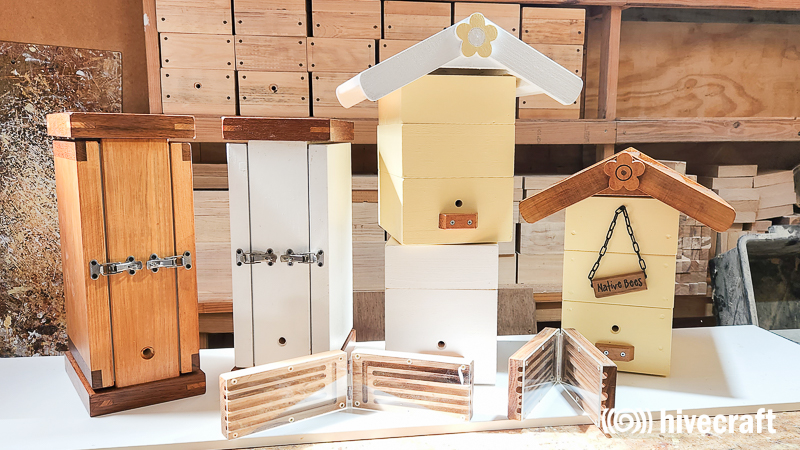
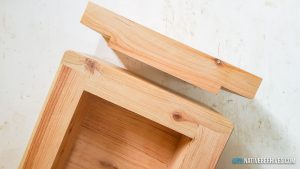
Rear Vent Holes
Most OATH design boxes including these pictured have rear vent holes. Some people might suggest closing all exits except for the main single entrance so the bees have no choice but to use it.

Patience
This is where the waiting game begins. The best chances and most progress will be made during the warmer months. During the cooler months progress may be slow. The bees will gradually fill the box with structure and stores. There’s reports of a new Queen and brood being created within a couple of months, and also ones that have taken over a year. It may depend on your area and the strength of your colony. Your colony needs to be strong before being able to create a new colony.
waiting … checking… waiting…..
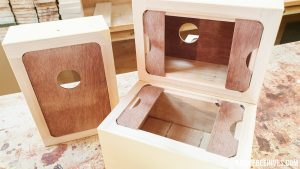
Your new Budding box should have a viewing window, clear perspex or thin clear plastic sheet so you’ll be able to remove the top box and still check the progress of the colony.
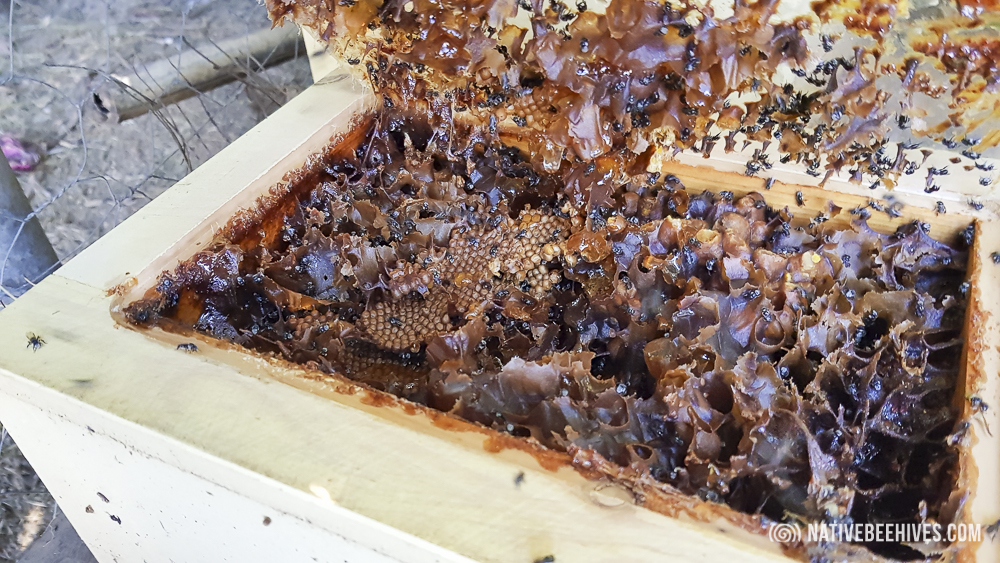
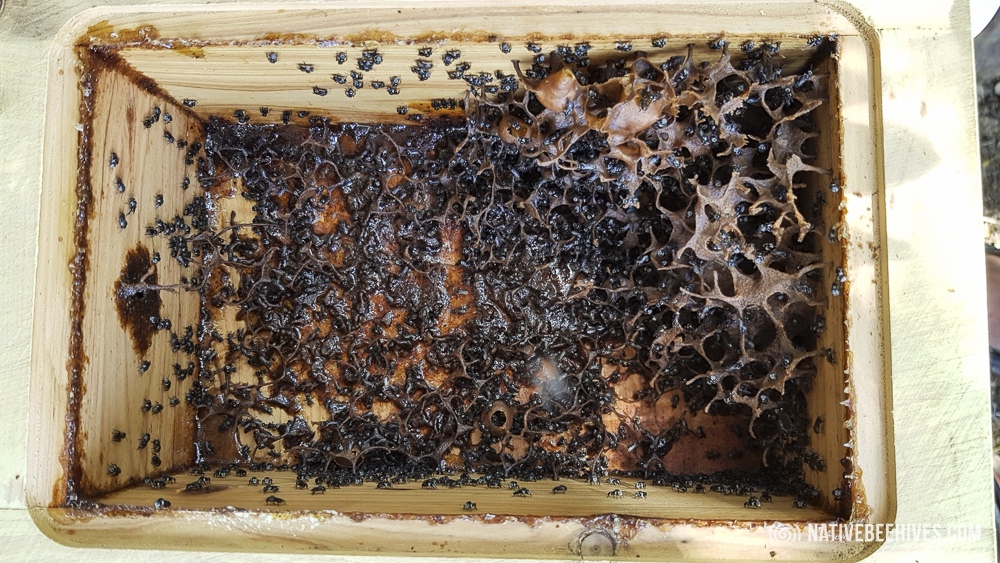
New Queen & Brood
The bees will start building structure, and hopefully create a new Queen and start with the brood. When you see the brood being created you have a Queen.
Make sure there’s a good amount of brood and bees in the new box. It should look really busy when you look through the perspex window.
Once the new colony is well establish you could disconnect the boxes.

Connection Tube T Piece
The connection tube usually has a T piece. Once the colony is well established the T piece can be opened to let bees exist via the T piece and not be forced through the new colony. Using a T piece can be a personal choice based on experience. Sometimes the bees use it, sometimes they just block it off.

Two Hive Boxes
Because both boxes are from the same colony they will be familiar with each other and have the same scent so they can stay beside each other. Both hives can remain in the same positions or you could turn them or move them slightly to create a better flight path for the bees. Try not to have the bees flight paths interfere with each other. If you want to move one you could use the usual hive moving methods, moving a short distance per day, or move to a different location 1km away. You may get away with moving one box 10 to 50m away (for example) as bees that want to return to the old location may be able to just return to the other colony.
Progress Checks
If you’ve separated the boxes and want to closely monitor the progress, you can weigh both boxes when first separated and weigh them once a month. You’re looking for an increase in weight over time. If you’re getting a constant loss of weight then there could be a problem like having no Queen and a declining bee population and resources. I would say that most people don’t worry about weighing hives too much and are happy to just let them go and trust that all is well. I usually just pick them up and feel the weight.
The Risk?
There is a slight chance that the main colony/mother hive could be blocked off by the daughter colony. This can kill the mother colony.
Failures?
Strong mother hive: The mother hive or main original colony needs to be strong for eductions to work.
Failure to launch: Eductions don’t always work. Sometimes the bees will just completely ignore the new box, or fill the new box with honey and pollen.
Disconnect too early: If you disconnect too early the new colony may not be establish well enough and slowly die out. Ensure there plenty of brood and bees before disconnecting.
If the bees don’t create a new colony you can disconnect the new box, wait a couple of months and reconnect.
Budding / Eduction / Hive Duplication