Updated 2023


Here’s some quick tips for starting out in Macro
Macro photography is very challenging! You’ll need patience, and the only way to get the shots you want is practice.
In this article I lightly cover these topics
- Light
- Pose
- Background
- Depth of field
- Focus
- Equipment
- Techniques
Aperture and depth of field
Aperture is a juggling act, between light, sharpness and depth of field. Depth of field is the area that it is sharp focus.
F2.8 opens the aperture wide open letting more light in but will reduce your depth of field to a fraction of a millimeter and this can make it very difficult to get the whole object in focus.
F22 will increase your depth of field but will reduce the amount of light entering the lens so you may need to add more light. Also at F22 your images wont be as sharp as compared to F2.8
Checking depth of field
Below: F4.8 Depth of field is a fraction of a millimetre so it would make it really difficult to get anything in sharp focus with macro.
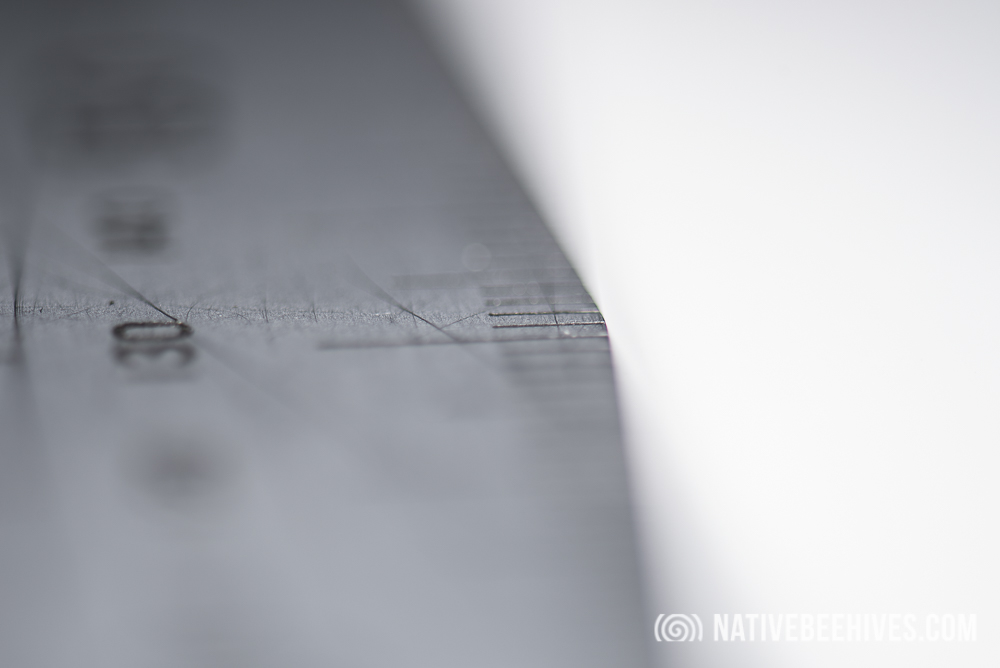
Below: f16 . Depth of field is only around 1 to 2mm
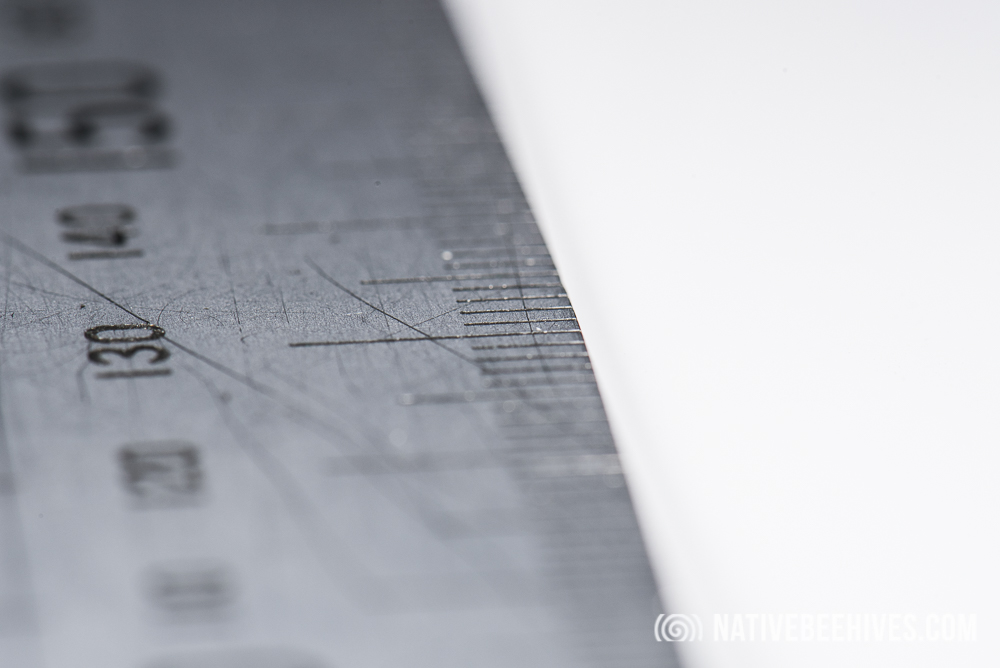
Below: f32 . It might look like there’s 10mm in focus but when zooming in to the original image the depth of field is only about 3 to 4mm. As the ruler says, that’s 130mm from the end of the lens, as that’s as close as i can get to the subject, unless I add extension tubes to reduce the focus distance.
ISO
ISO is the sensitvity of the camera sensor. As you reduce the aperture size less light will be getting in to the camera so you may need to increase the ISO. Always start at ISO 100. As you increase the ISO the image noise will increase. Noise is a reduction in clear quality. This will be noticeable when viewing and editing the image later.
Light
To get sharp images you need light, like a flash, and reduce ambient light.
If it’s a cloudy day and you have no flash you wont be getting sharp images. You can easily use the pop up flash on your camera and try using some kind of reflector like a paper plate to direct light over the object, for example: hold the paper plate above the subject so the camera flash is directed down on to the object. Illuminating the object from the top you can achieve a better result.
Reflecting the light from the flash will “defuse” or spread the light giving a more natural result. Direct light from the flash could be a bit harsh creating bright spots
For a sharper image it can be best to try to reduce the amount of ambient light or general day light and try to use only the light you create from your flash. Avoid using direct light from your flash. Defuse the light with an opaque cover or reflector.

Camera Flash, Reflectors & Snoots
When the “in camera flash” is activated on cameras it can automatically set the shutter speed to 1/200 to`1/250sec (for example). Your aperture is where you want it at F22, so if you need more light you may have to increase your ISO. Start with the ISO at 100 and see how you go. If you have an external flash unit then you’ll be able to control the light a lot better.

Macro Flash – (pictured above) The proper Macro flash equipment can be expensive, usually two flash units that sit on the front of the lens and a controller on the camera. *The light should be defused here so it’s not harsh light.
Macro Light Ring – If you get one of these, try to get a really good one. If you get a cheap one from ebay you’ll probably wont use it. There’s not enough power/light.
Camera External Flash – External flashes are great for macro as you have more control over where the flash is directed and how the light is difused
Onboard pop up flash – A lot of DSLRs cameras have a pop up flash. If this is all you have you can use it as is. The light tends to be a little harsh and you may get some glare or shiny spots on your subject, so you may need to defuse it with a frosted cover.
Reflector used with the pop up flash – Using the pop up flash you can use something like a piece of white paper or card as a reflector, to direct light over the subject instead of directly at it.
Snoot – You may have to Google “Snoot”. It’s basically a funnel shape tube that sits over your pop up flash or external flash and directs light over the subject instead of straight at it. You can make one from white cardboard and it creates a nice light on the subject. Snoots work really well and possibly the cheapest thing you can do.
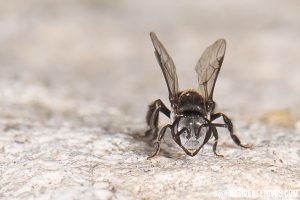
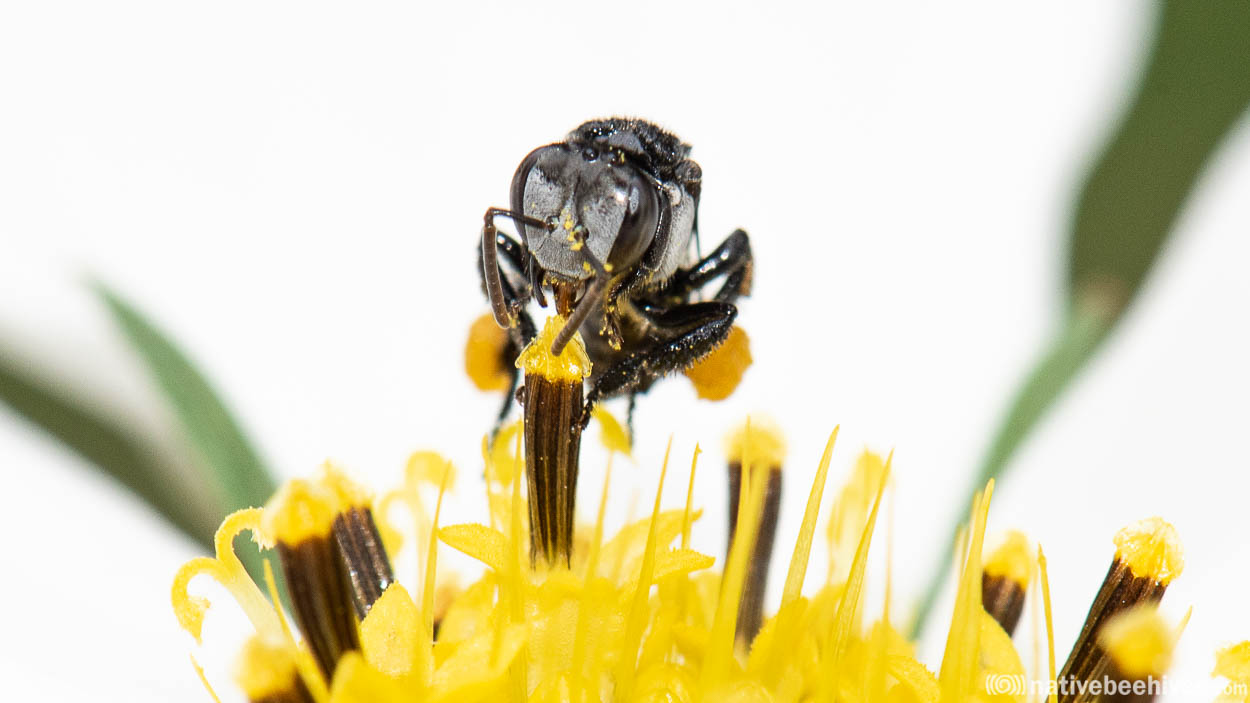
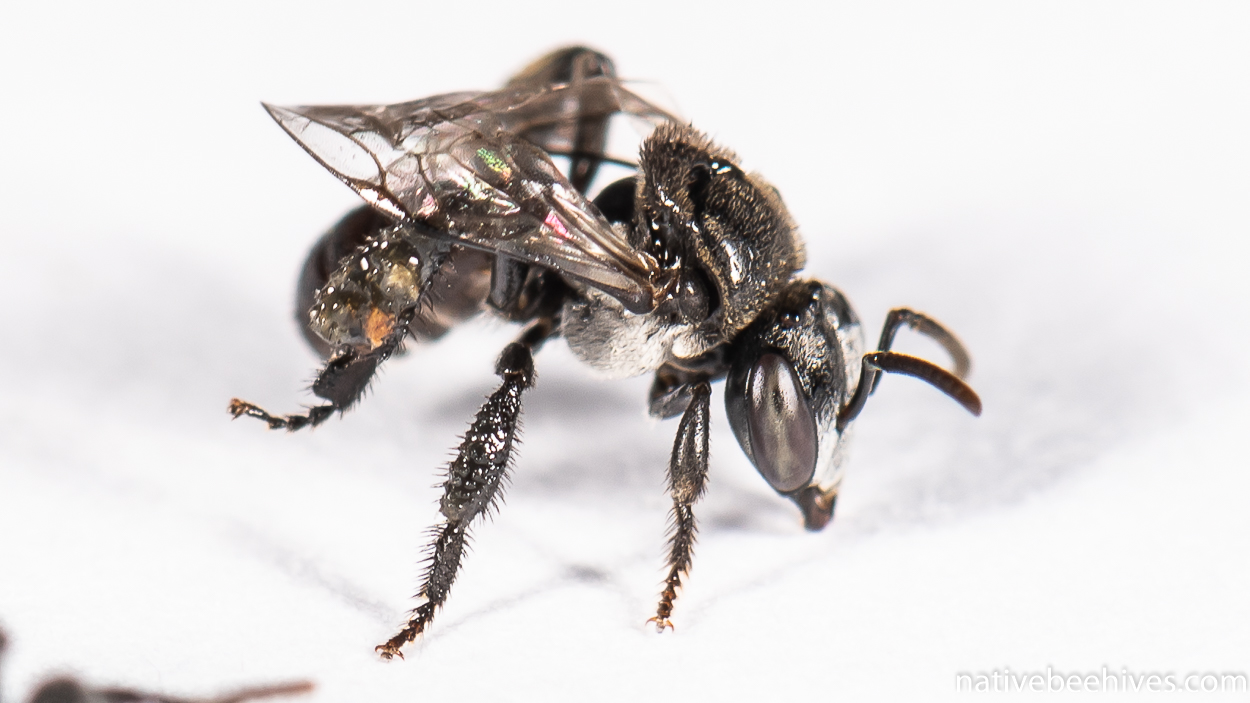
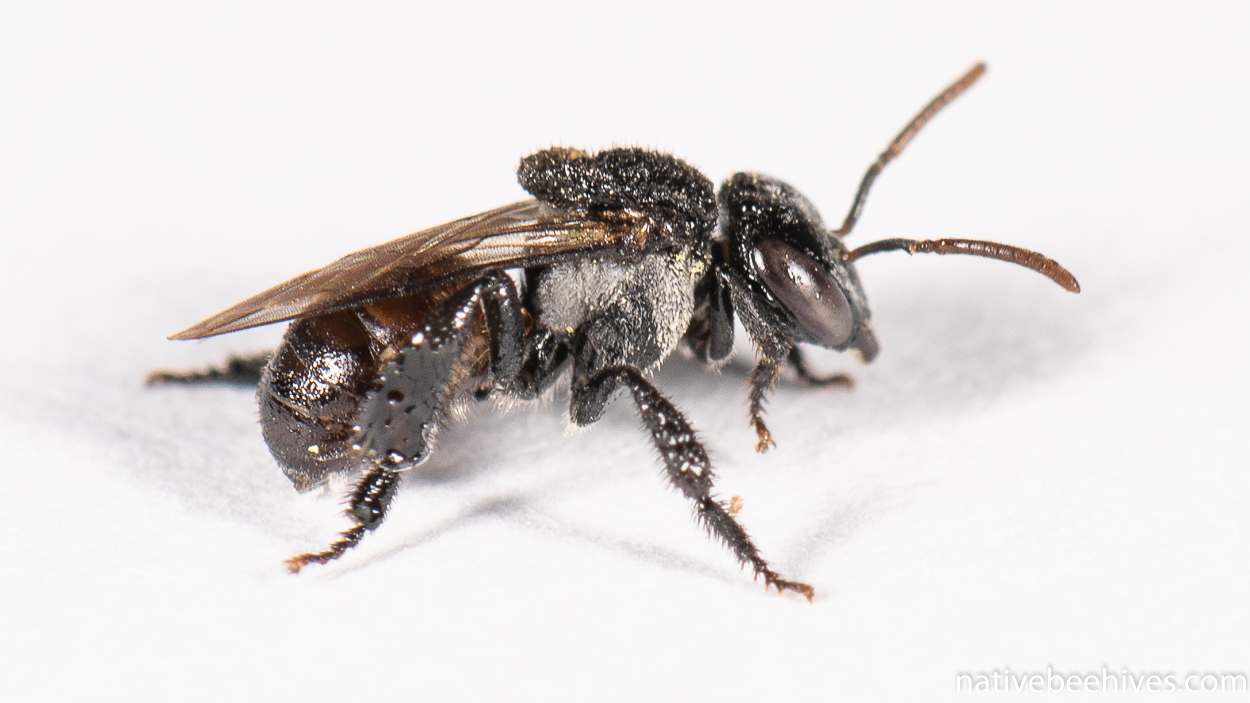
Bee photo: The light may have been a bit harsh on this one as there’s a few shiny spots
Auto Focus & Hunting
Auto focus can be a problem with Macro, if that works for you then that’s great. You’re going to have a narrow depth of field if you’re close to the object so your focus needs to be spot on. Sometimes auto focus wont work if you’re really close, and it will hunt around and can’t lock on, or lock on the wrong thing. Most people would be using manual focus .
Manual Focus
Try manual focus, play around with this, focus manually and you’ll probably notice if you’re not using a tripod then you may be swaying around and the focus is going in and out, that’s ok. Leave the focus as is, and work with it. Get ready to take the shot, sway in and out and take the shot when you think it’s got focus. This might sound strange, but that’s the way a lot of people do it.
Lens 105mm Macro. F16. Manual focus. Using the sway method – No tripod.

Tripod, Monopod or none?
If you’re photographing a still object then it helps to use a tripod. If you’re chasing bees around the yard then a tripod might not be practical. You could use a short stick as a mono-pod. Grab a short stick and while taking the shot you steady yourself with the short stick touching the ground while holding it in your camera hand. If you’re using a tripod then you should turn off IS (image stablisation) or VR (virbration reduction).
Sway! Work on this method. Just hold the camera freely with no tripod and use manual focus. Sway in and out and when you see you have sharp focus take the shot. This can be the best method if you can get it right.
Once you’ve had some fun with still objects and you think you have your lighting and focus techniques refined a little, move on to some slow moving subjects.
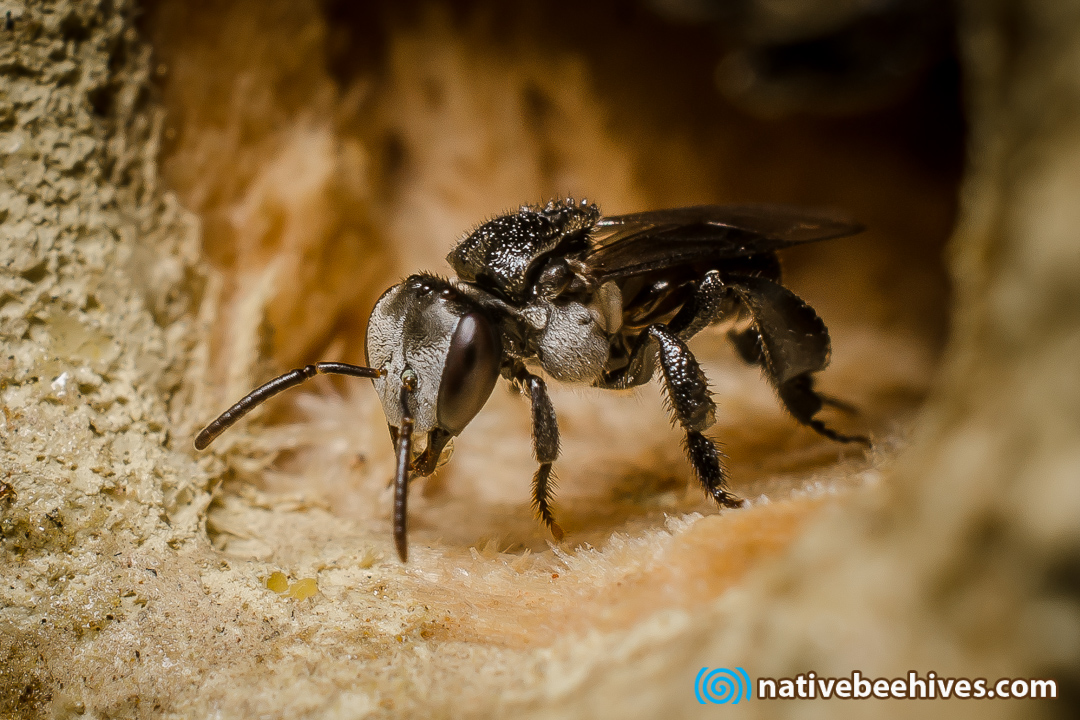
Below: I saw this Masked bee enter the hole in the wall but couldn’t see it at all once inside. I used a tripod and manual focus and the flash, checking each photo and adjusting the focus each time until i had one in focus.

VR / IS – Vibration reduction or Image Stablisation
When using a tripod you’ll need to turn these off. Even using hand held shots you should try them on and off to see what works better for you.
Subject Pose
What? How the hell do you pose a bee? Well… I think it’s best to show the eyes as with people photos, so you’ll want to be either looking straight at the bee front on, or side on, or from the top down. This will also help get the important things in focus when you consider depth of field.
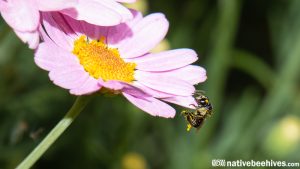
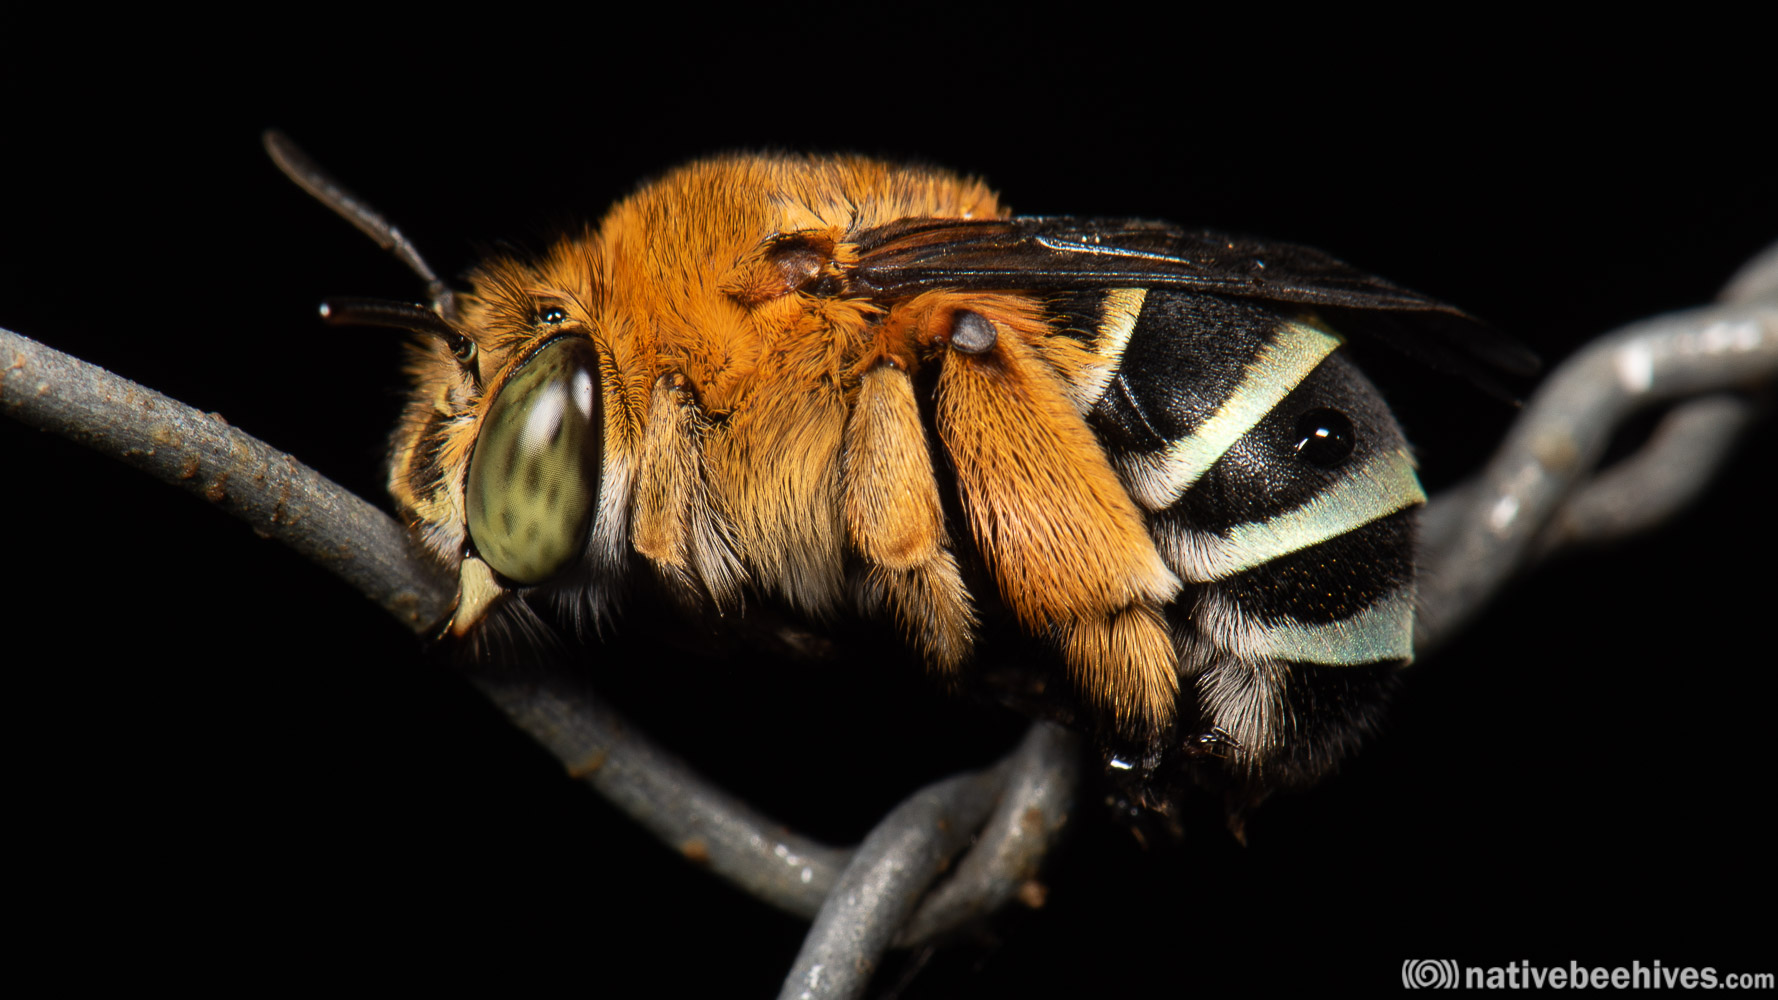
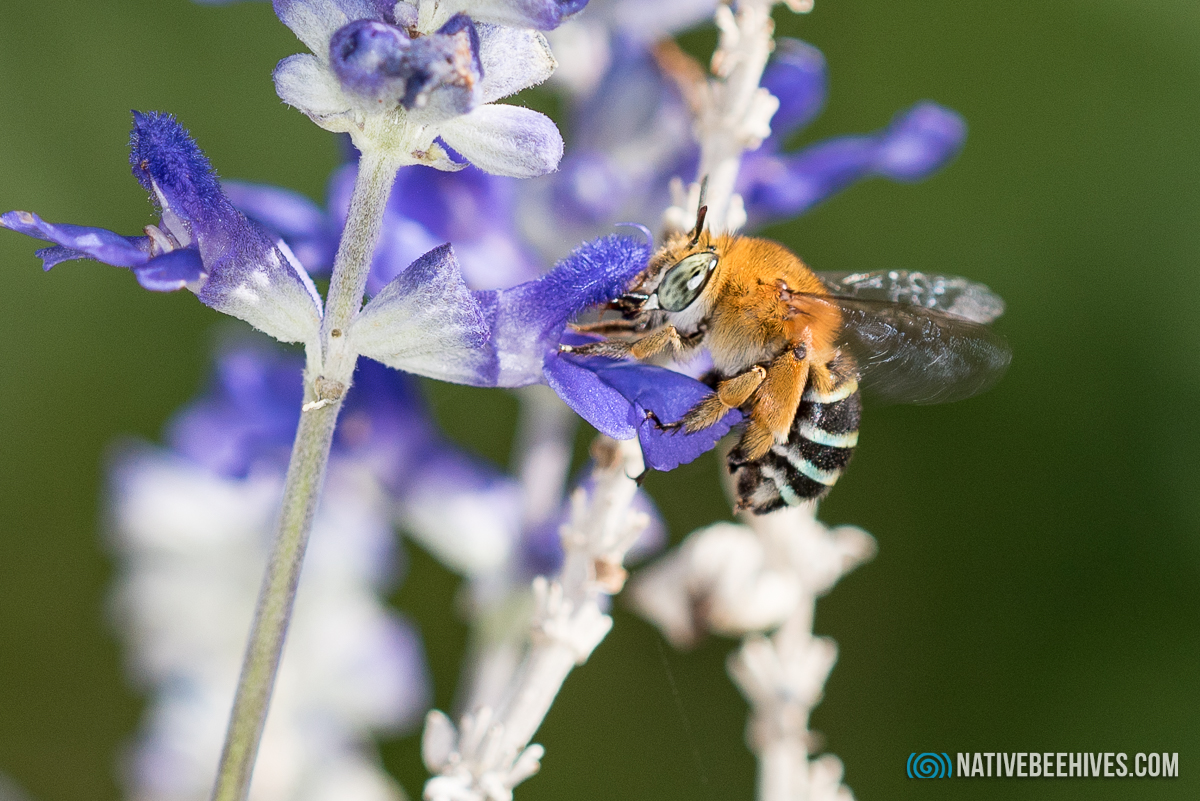
Below: 200mm Macro lens, Manual focus, using a monopod so i could move the camera quickly as the bee was moving from flower to flower quickly. Being side on the whole bee is in focus. Blue Banded Bees move around quickly but do make good photos because they are larger and move colourful than Stingless Bees.

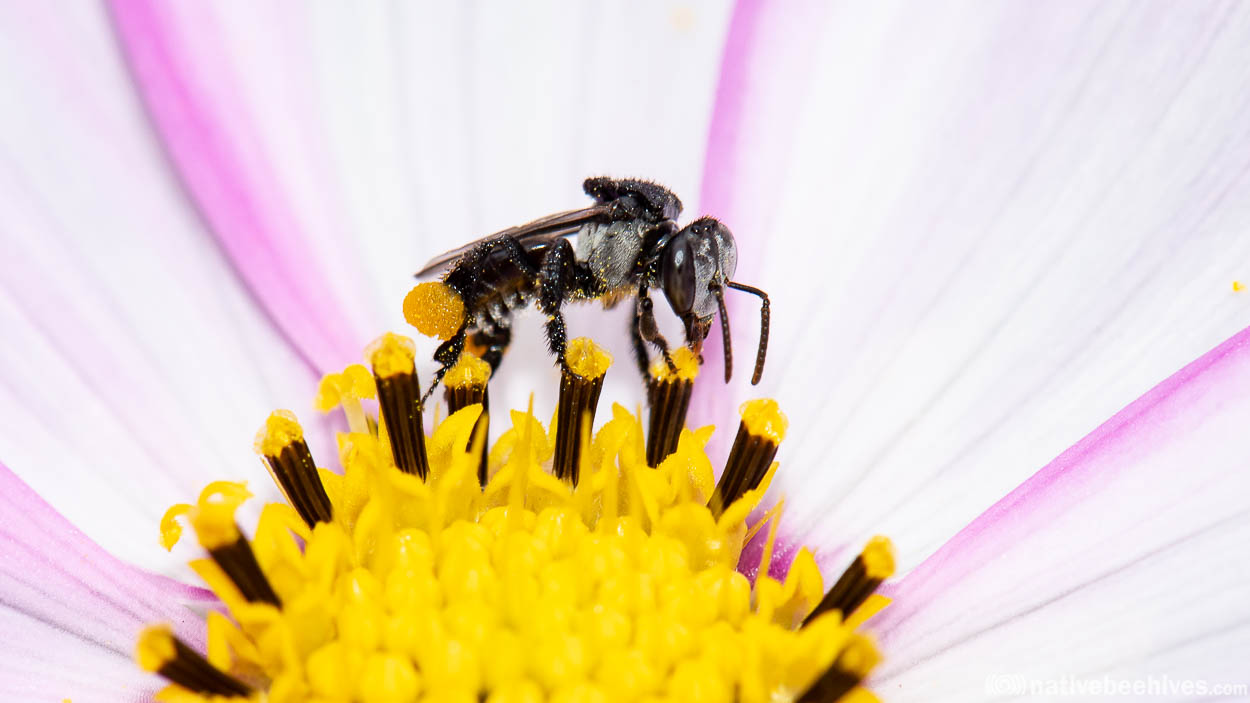
Below: Shooting the bees side on gets more in sharp focus

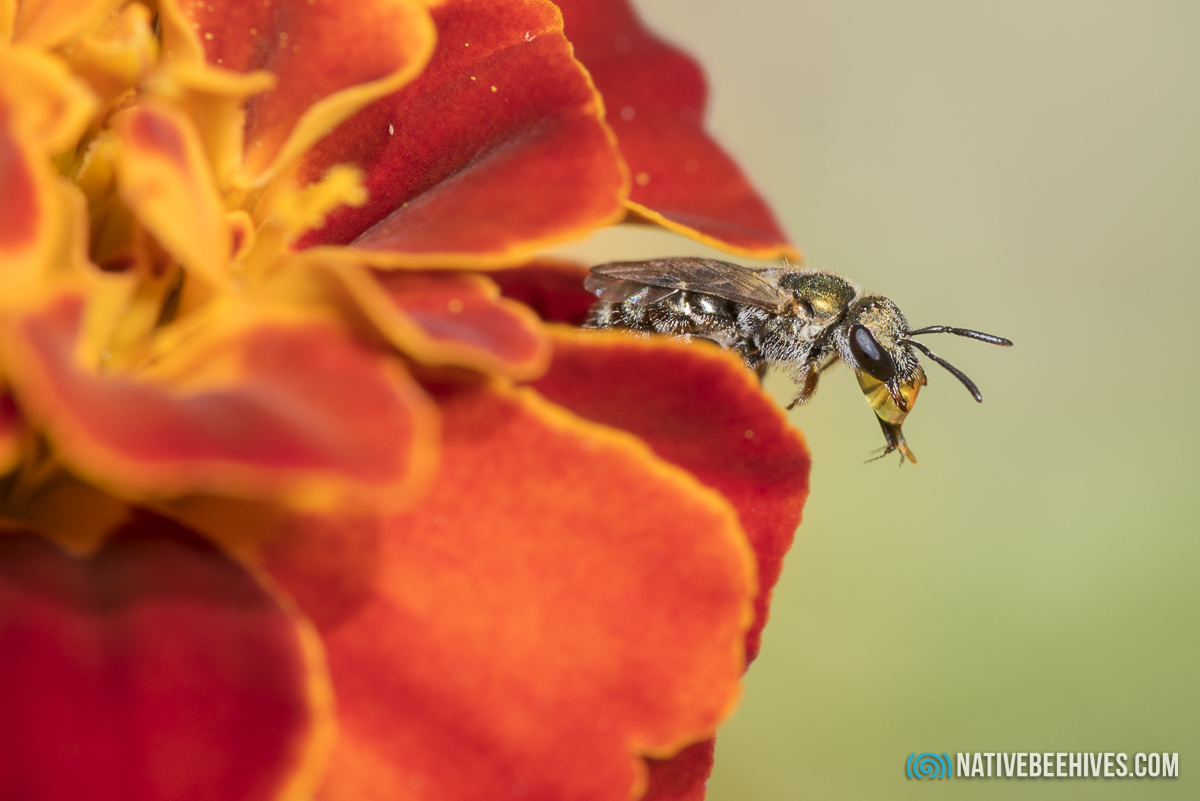
Below: These little Emerald Bees are tiny. The smaller the bee the harder it is. You’ll get better photos of the Blue Banded Bees because they’re bigger. The Stingless Bees are also pretty small so aren’t the easiest things to shoot.
Backgrounds
Consider the whole image and not just the subject. Make the background add some interest to the image. Backgrounds are important, they can make or break your image! Find your subject then think about how you’re going to frame it all.
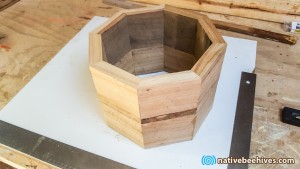
Create the background before the subject even arrives. Make a garden with some cool stuff in the background, like more flowers, timber fences, rusty tin, like you’re creating a stage.

Below: Although I think the bee looks good here, the image is let down a little by the big bland empty space on the bottom and left side, hard to avoid here. I could have changed position to fill the frame with the leaf.

Lenses
Using a good lens is the best option but is also expensive. There’s quite a few types of lenses available and they vary in size and quality and you’ll have to work out how much you’re willing to spend on one, ranging from a couple of hundred to thousands. A 40mm Macro lens will be cheaper than a 100mm Macro lens. Using a smaller lens you will have to get closer to the subject. A 200mm Macro lens is super expensive but will allow you to be further away from the subject. The downside of being further away is that it’s harder to get the subject in sharp focus as your movements and the subjects movements are magnified. The closer the better! A 65mm, 85mm or 105mm will be perfectly fine.
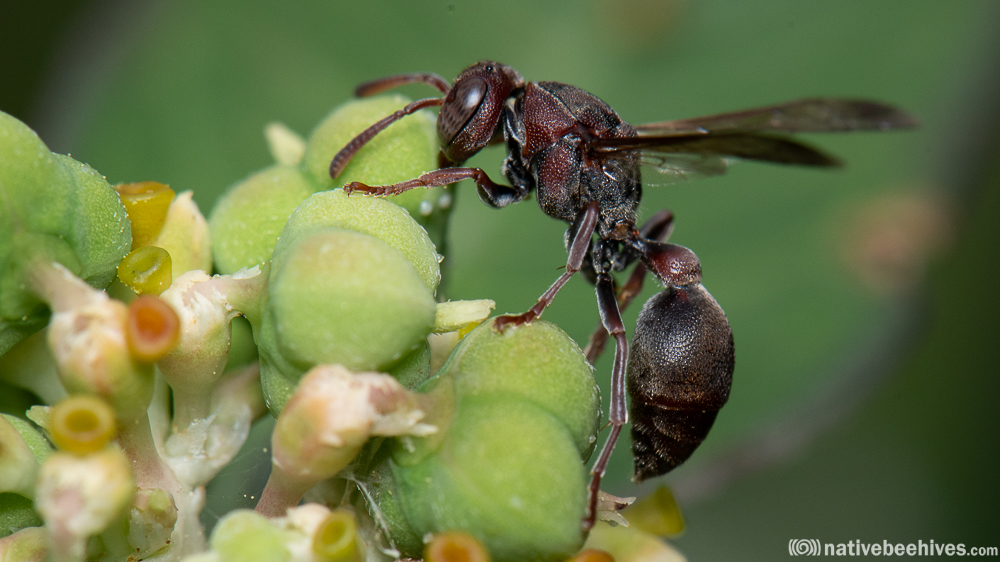
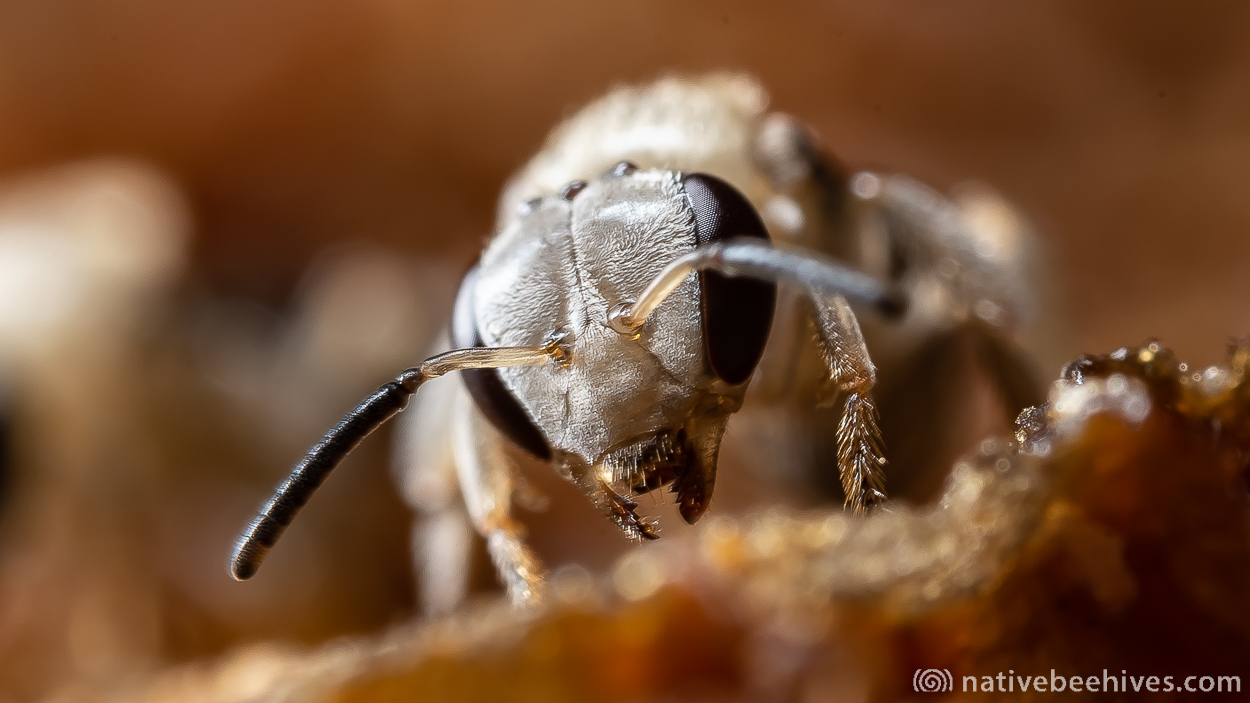
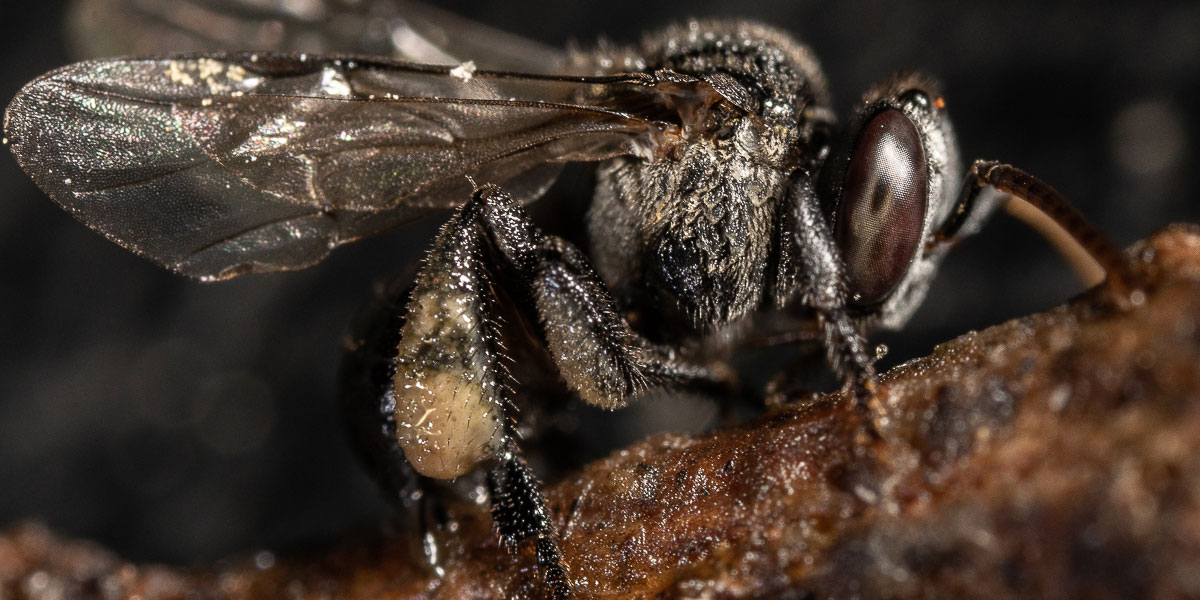
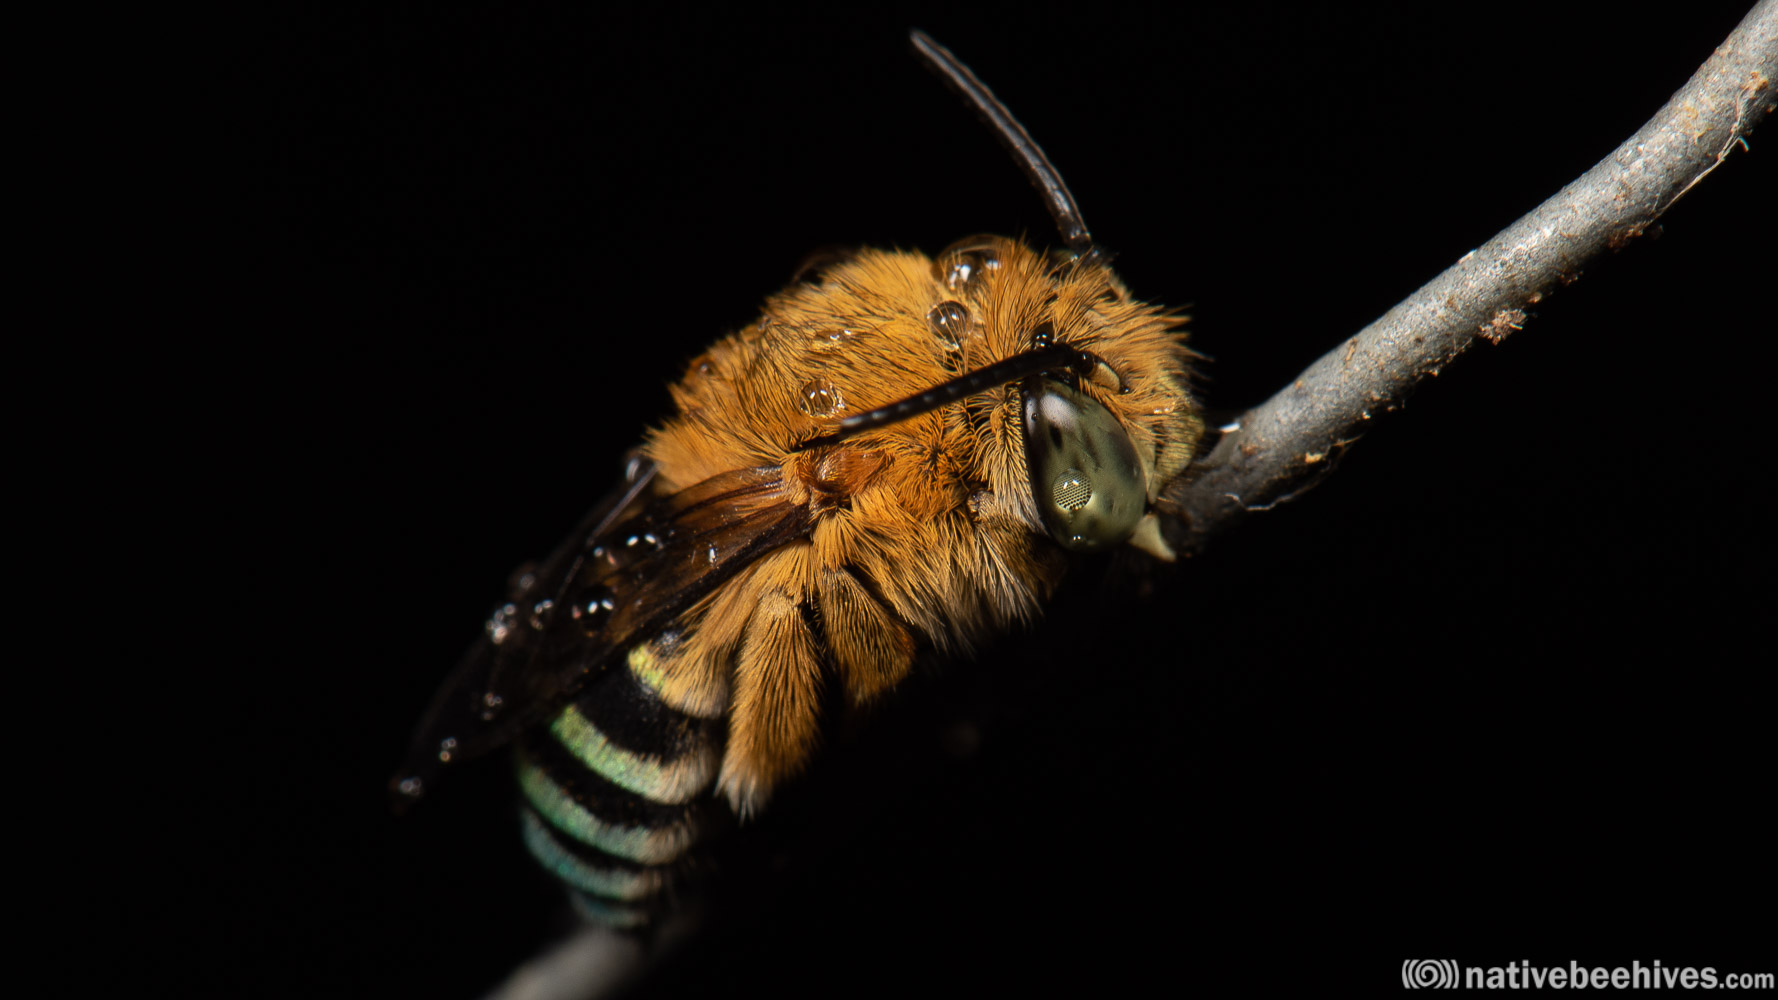
Below – This bee stayed pretty still as it guarded the entrance. Lens 40mm Macro with a Snoot
Extension Tubes
A good alternative and relatively cheap. An extension tube is connected between your camera and lens. It has no glass in it, it’s just a tube. It reduces the focus distance in front of the lens, allowing you to get focus while being really close to the subject. You can use any lens with these, they don’t need to be macro lenses.

Reverse Rings
The ring enables you to put your lens on backwards and using the 50mm lens it works great for a cheap alternative for macro shots. The down side is you’re likely to get more dust on the lens opening as it’s exposed when it normally wouldn’t be. then if you use the lens the correct way around you can transfer dust to your cameras sensor so it’s not really recommended.

Raynox
A Raynox lens is basically a simple magnifying lens that attaches to the front of your camera lens.

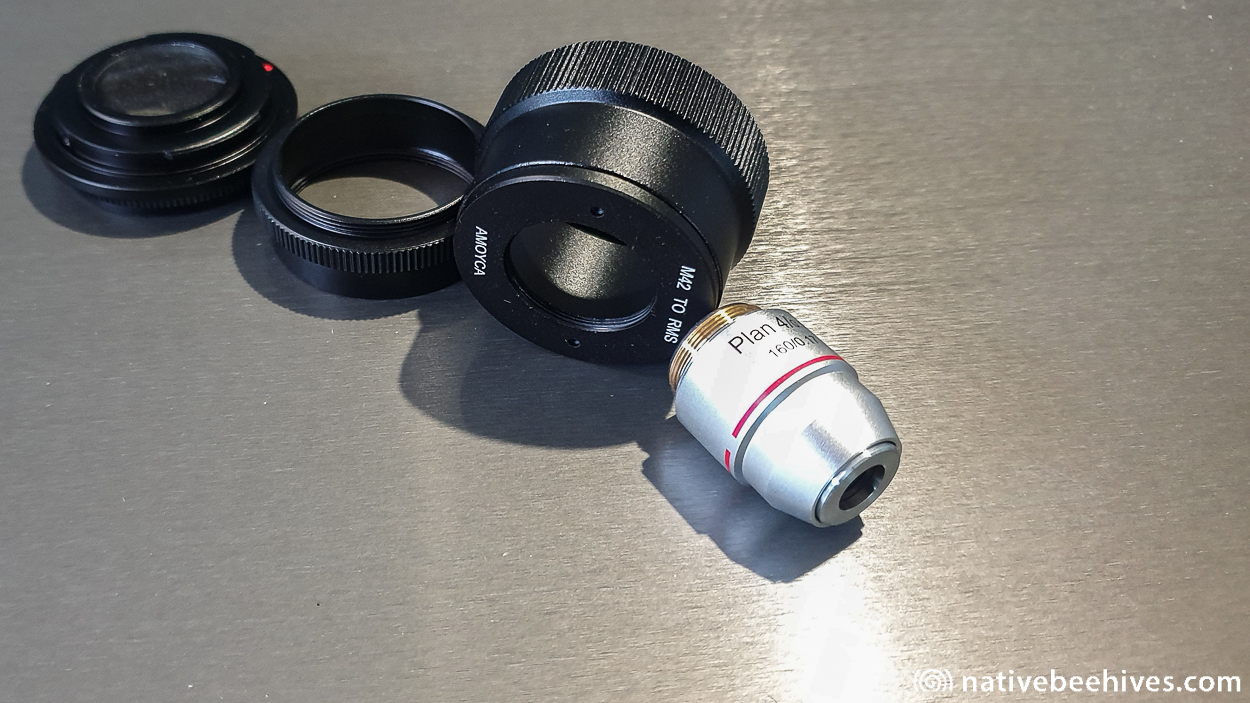
Microscope Objective – Lens
If you like puzzles then you can try a microscope objective. You can buy different magnifications for around $30, then solve the puzzle of getting it to sit at the correct distance from the sensor using bellows or tubes. See Alan Walls Youtube video about this https://youtu.be/UT-vH9_p8XI . Photo: “Plan 4, 0.10” and tubes. My puzzle is almost complete.
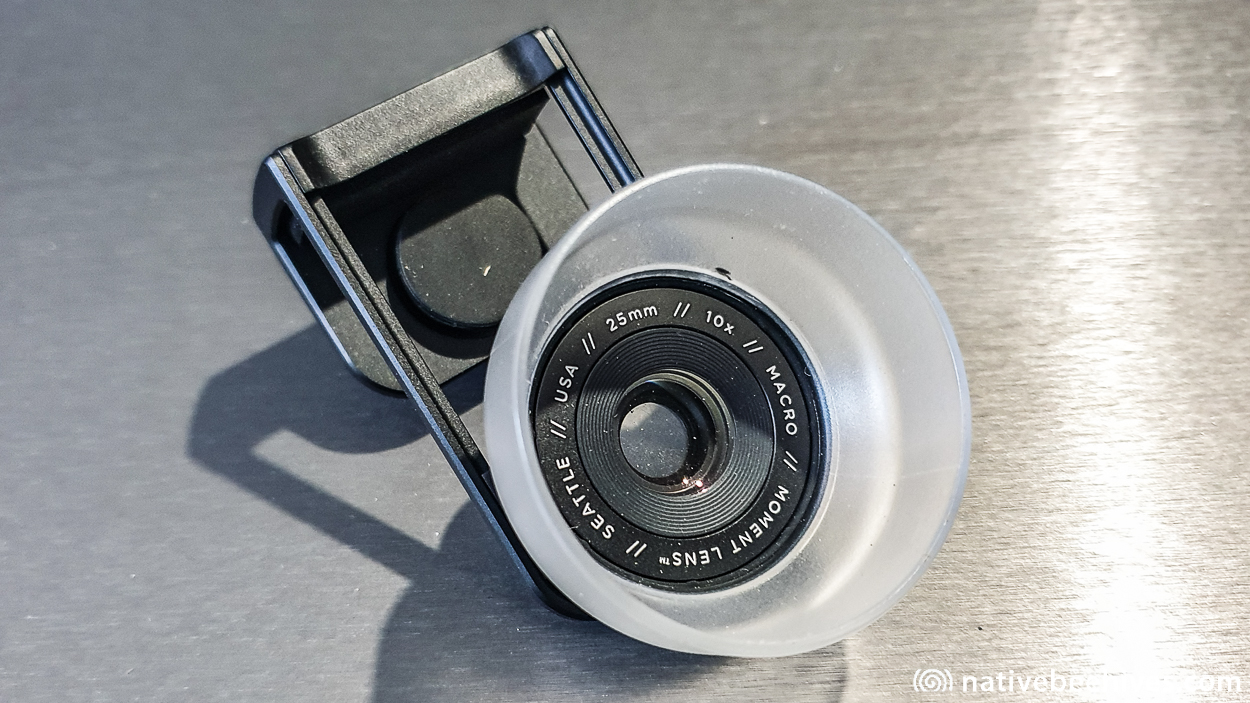
Phone Macro Lenses
You can buy phone macro lenses and I’ve heard of people loving the results, but personally I thought it was a waste of money and gave poor results.
DSLR vs Phone Camera?
Phones can produce some pretty impressive macro images, but the images usually only look good on another phone or small size on the net, which is ok for most things.You might need to set your phone to manual settings or Pro Mode and play with the focus and ISO.
Size matters – DSLRs have a 24mm to 35mm sensor and a phone camera has a 6mm sensor. Better lenses and sensors will always produce a better quality image. A lot of Compact Cameras also have a 6mm sensor.
Lighting in macro is critical – To get better images using your phone you can try all the lighting tips above. Try using different light sources to improve the look of the image.
The best thing you can do in macro is…
Practice!
Try different subjects, coins, bugs, anything that has detail that we can’t normally see, and get creative.
Some of my favourite images come from a 40mm macro lens and paper plate reflector, so spending thousands on gear may not improve your results.
Below: 40mm macro lens with a Snoot

Below: 105mm macro lens with onboard popup flash and Snoot
Have a suggestion for this article? Let me know how you go and if this was any help, and send me some of your shots! Send me an email using the contact page form.